This is part of a series of posts on the topic of cobble/stone generators.
Design
A lava source block and water source block are caged by cobble so that their flows collide at one particular block. A piston hooked up to a clock circuit↗<!TODO> faces that block, pushing out a line of cobble. The same clock connects to a line of pistons that push that line of cobble out into a 12×13 area. We used a piston clock so that the timing would match the pistons without any extra configuration.
The design is easy to configure either to produce cobble or stone. I'm presenting the stone design; Step 5 of the Instructions discusses how to modify the design for cobble generation.
Ingredients
Note: You will also need torches for lighting, which I will not address here. <!TODO>
Raw Materials:
64 cobblestone (fire 12 blocks into stone)
48 redstone
14 iron ingots
12 wood
1 bucket of water
1 bucket of lava
1 block of sand or gravel
Craft:
wood → 42 planks and 12 sticks to use below
1 lever↗
9 redstone torches↗, use 8 for the repeaters
4 redstone repeaters↗
14 pistons↗
18 cobblestone slab↗ (optional)
Raw Materials Left Over:
most of the cobblestone
35 redstone (for wiring)
buckets of water and lava
block of sand or gravel
Raw materials left over after crafting will be used entirely, except for cobblestone, which I overestimated. The 18 cobblestone slab is for 15 spots around the water and lava that require permanent filling, but are cool to look through. You may prefer glass or simple cobblestone.
Instructions
Notes on placement: Redstone wire is made by placing redstone on top of a block. Pistons face you when placed. When repeaters are placed, the direction of current is away from you. Repeaters can be right-clicked to change their timing.
-
Select an appropriate area. (See schematic in Figures.) Be sure it's cleared at least two blocks high, and is well lit from above. I will refer to front/back, left/right, and up/down with heights 0-2 where 0 is the floor, 1 is foot level, 2 is eye level.
-
Place the pistons. The ones in the back are at height 1 and face towards the front. The one by the lava is at height 1 and faces the lava. The last one is at height 0 and faces upwards. Place the sand/gravel block on top of that last piston.
-
Place the circuitry for the back pistons. See the screenshot from the back for the checkered cobblestone placement and redstone wiring. If you place the lever next to this wiring and turn it on, all of the back pistons should push towards the front. Hook up and test the lava piston as well, including the repeater (that is not right-clicked) between the two sections of pistons.
-
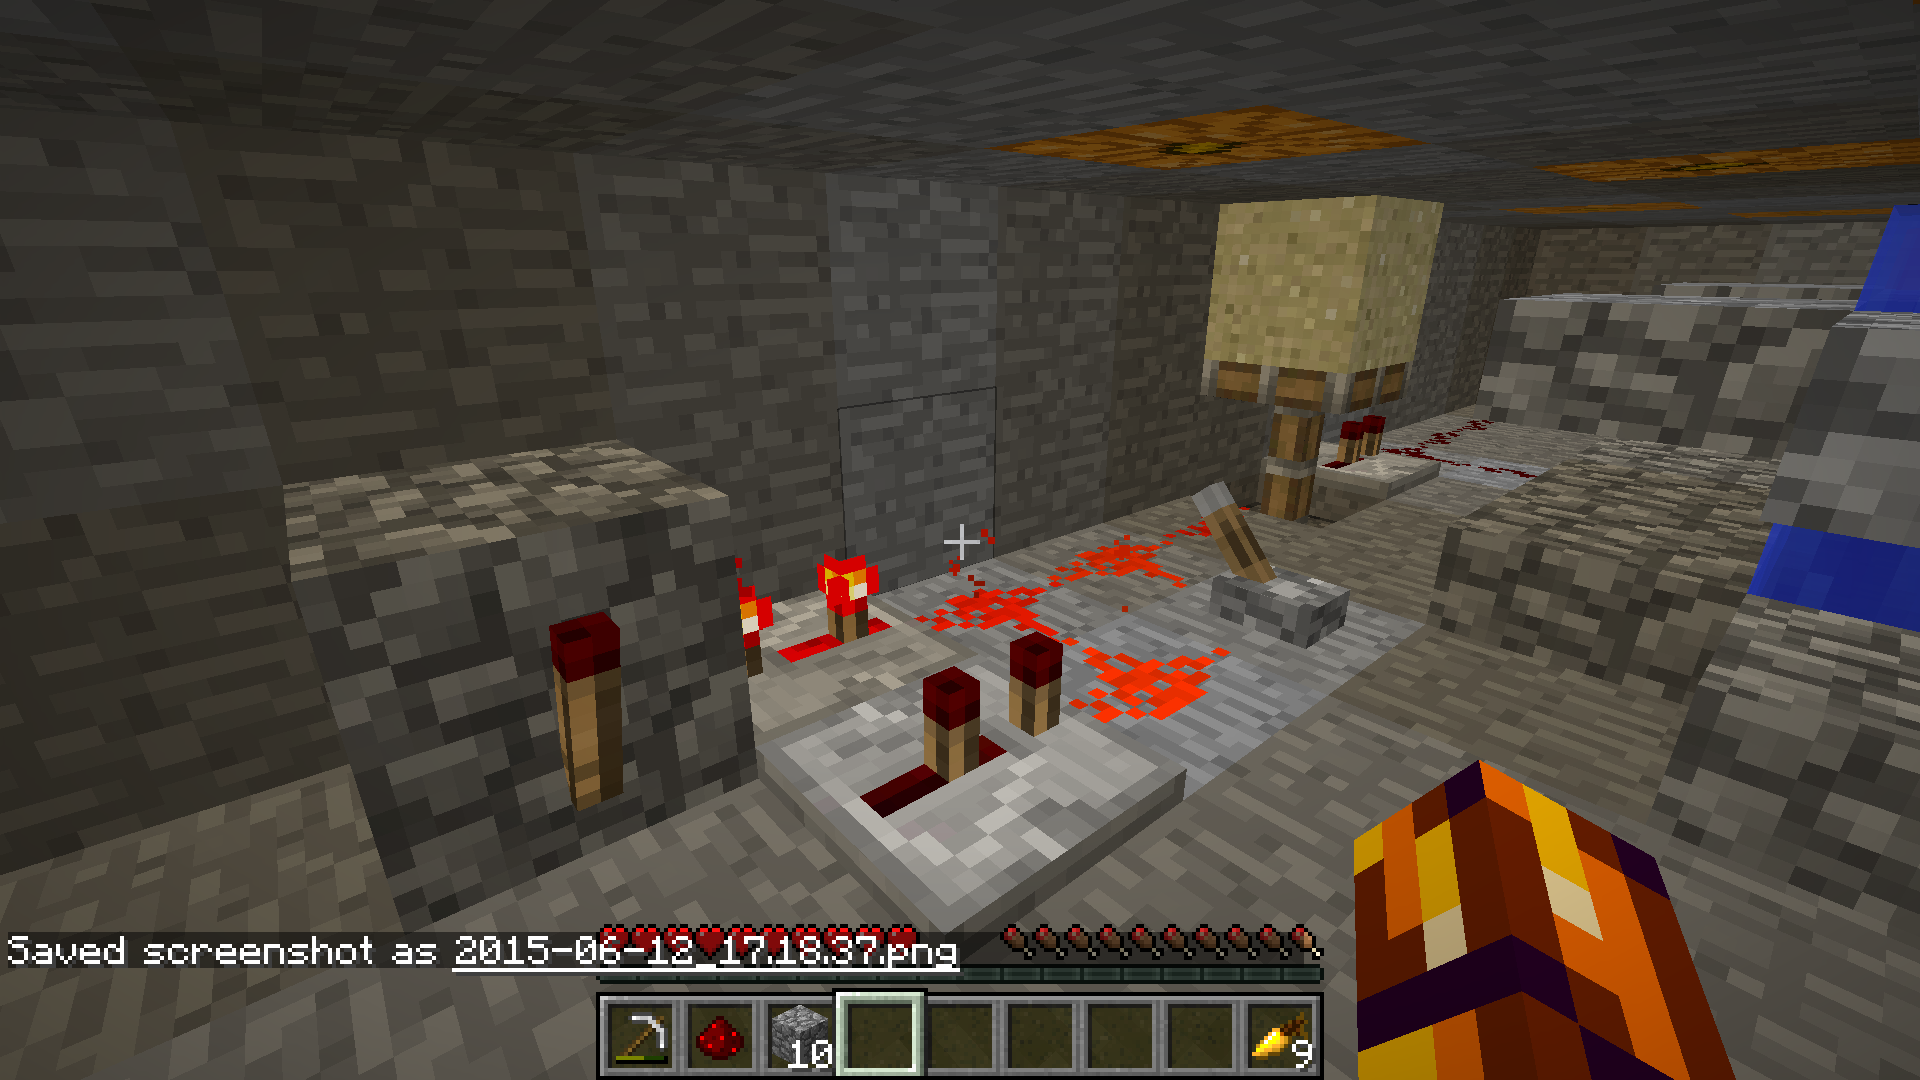
Set up the clock circuitry. (i.e., all the rest of the circuitry.) See the screenshot from the front for reference. Note that the back repeaters have been right-clicked a total of 3 times (it doesn't matter which get the clicks) and that the clock is "off" when the lever is activated. The repeater next to the sand/gravel piston connects the clock circuit to the rest, and is clicked once. When you turn this on, the pistons should all push periodically, with the lava piston pushing slightly before the back pistons.
-
Build the cage around the water and lava. These need to surround the five blocks where the water and lava will go. See the screenshot from the left to see what that side of the cage looks like. The source blocks are at height 2, flow down, then together. On the right side, place the height 2 cage same as the left side, but place full cobblestone at height 1; when you start mining the generated stone, don't mine out the stone in these spots. Place the water source first; it should flow down a block, then back three blocks, ending just below where you place the lava source. After placing the lava, flip the switch, and everything should work!
If you want to generate cobble instead of stone, move the cage one block to the back, and place a cobblestone block in front of the piston before you place the source blocks, so that the lava can flow down before the water gets to it.
Figures
schematic

from the back
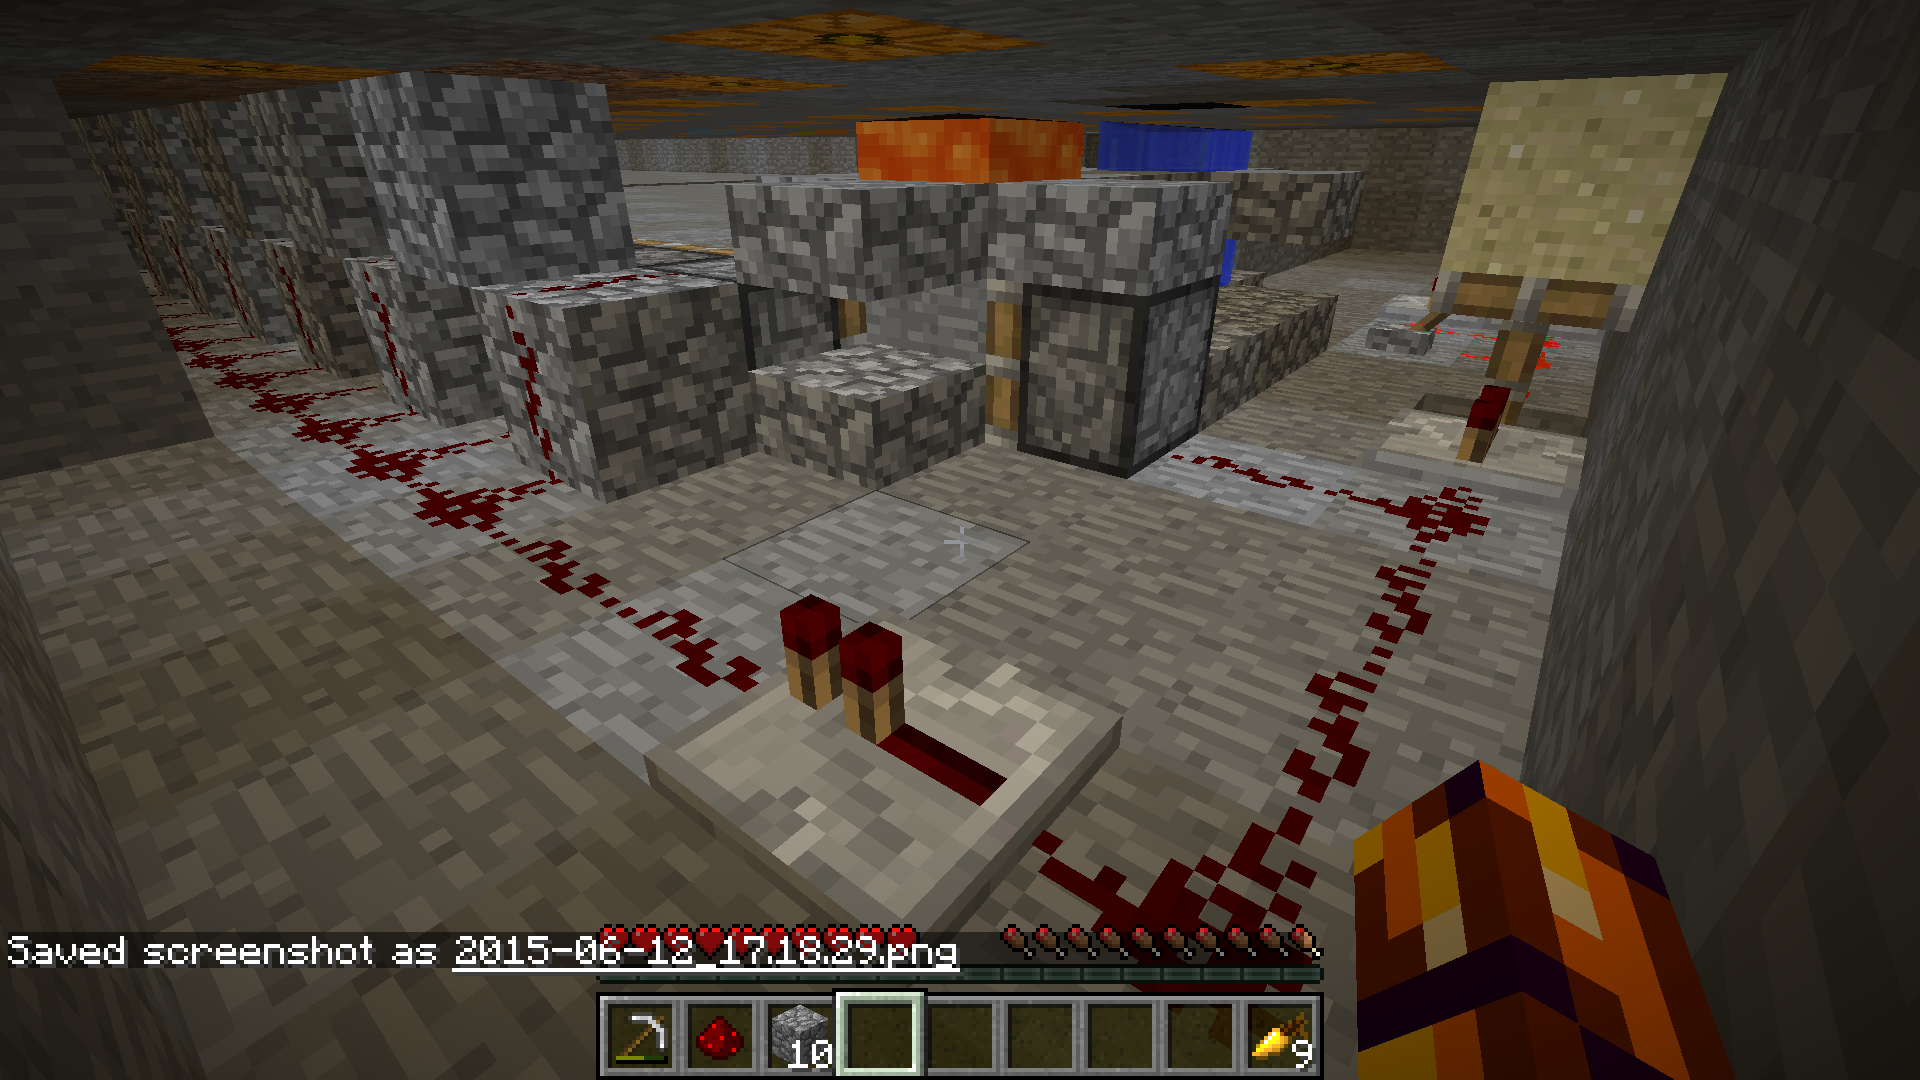
from the front
from the left
